
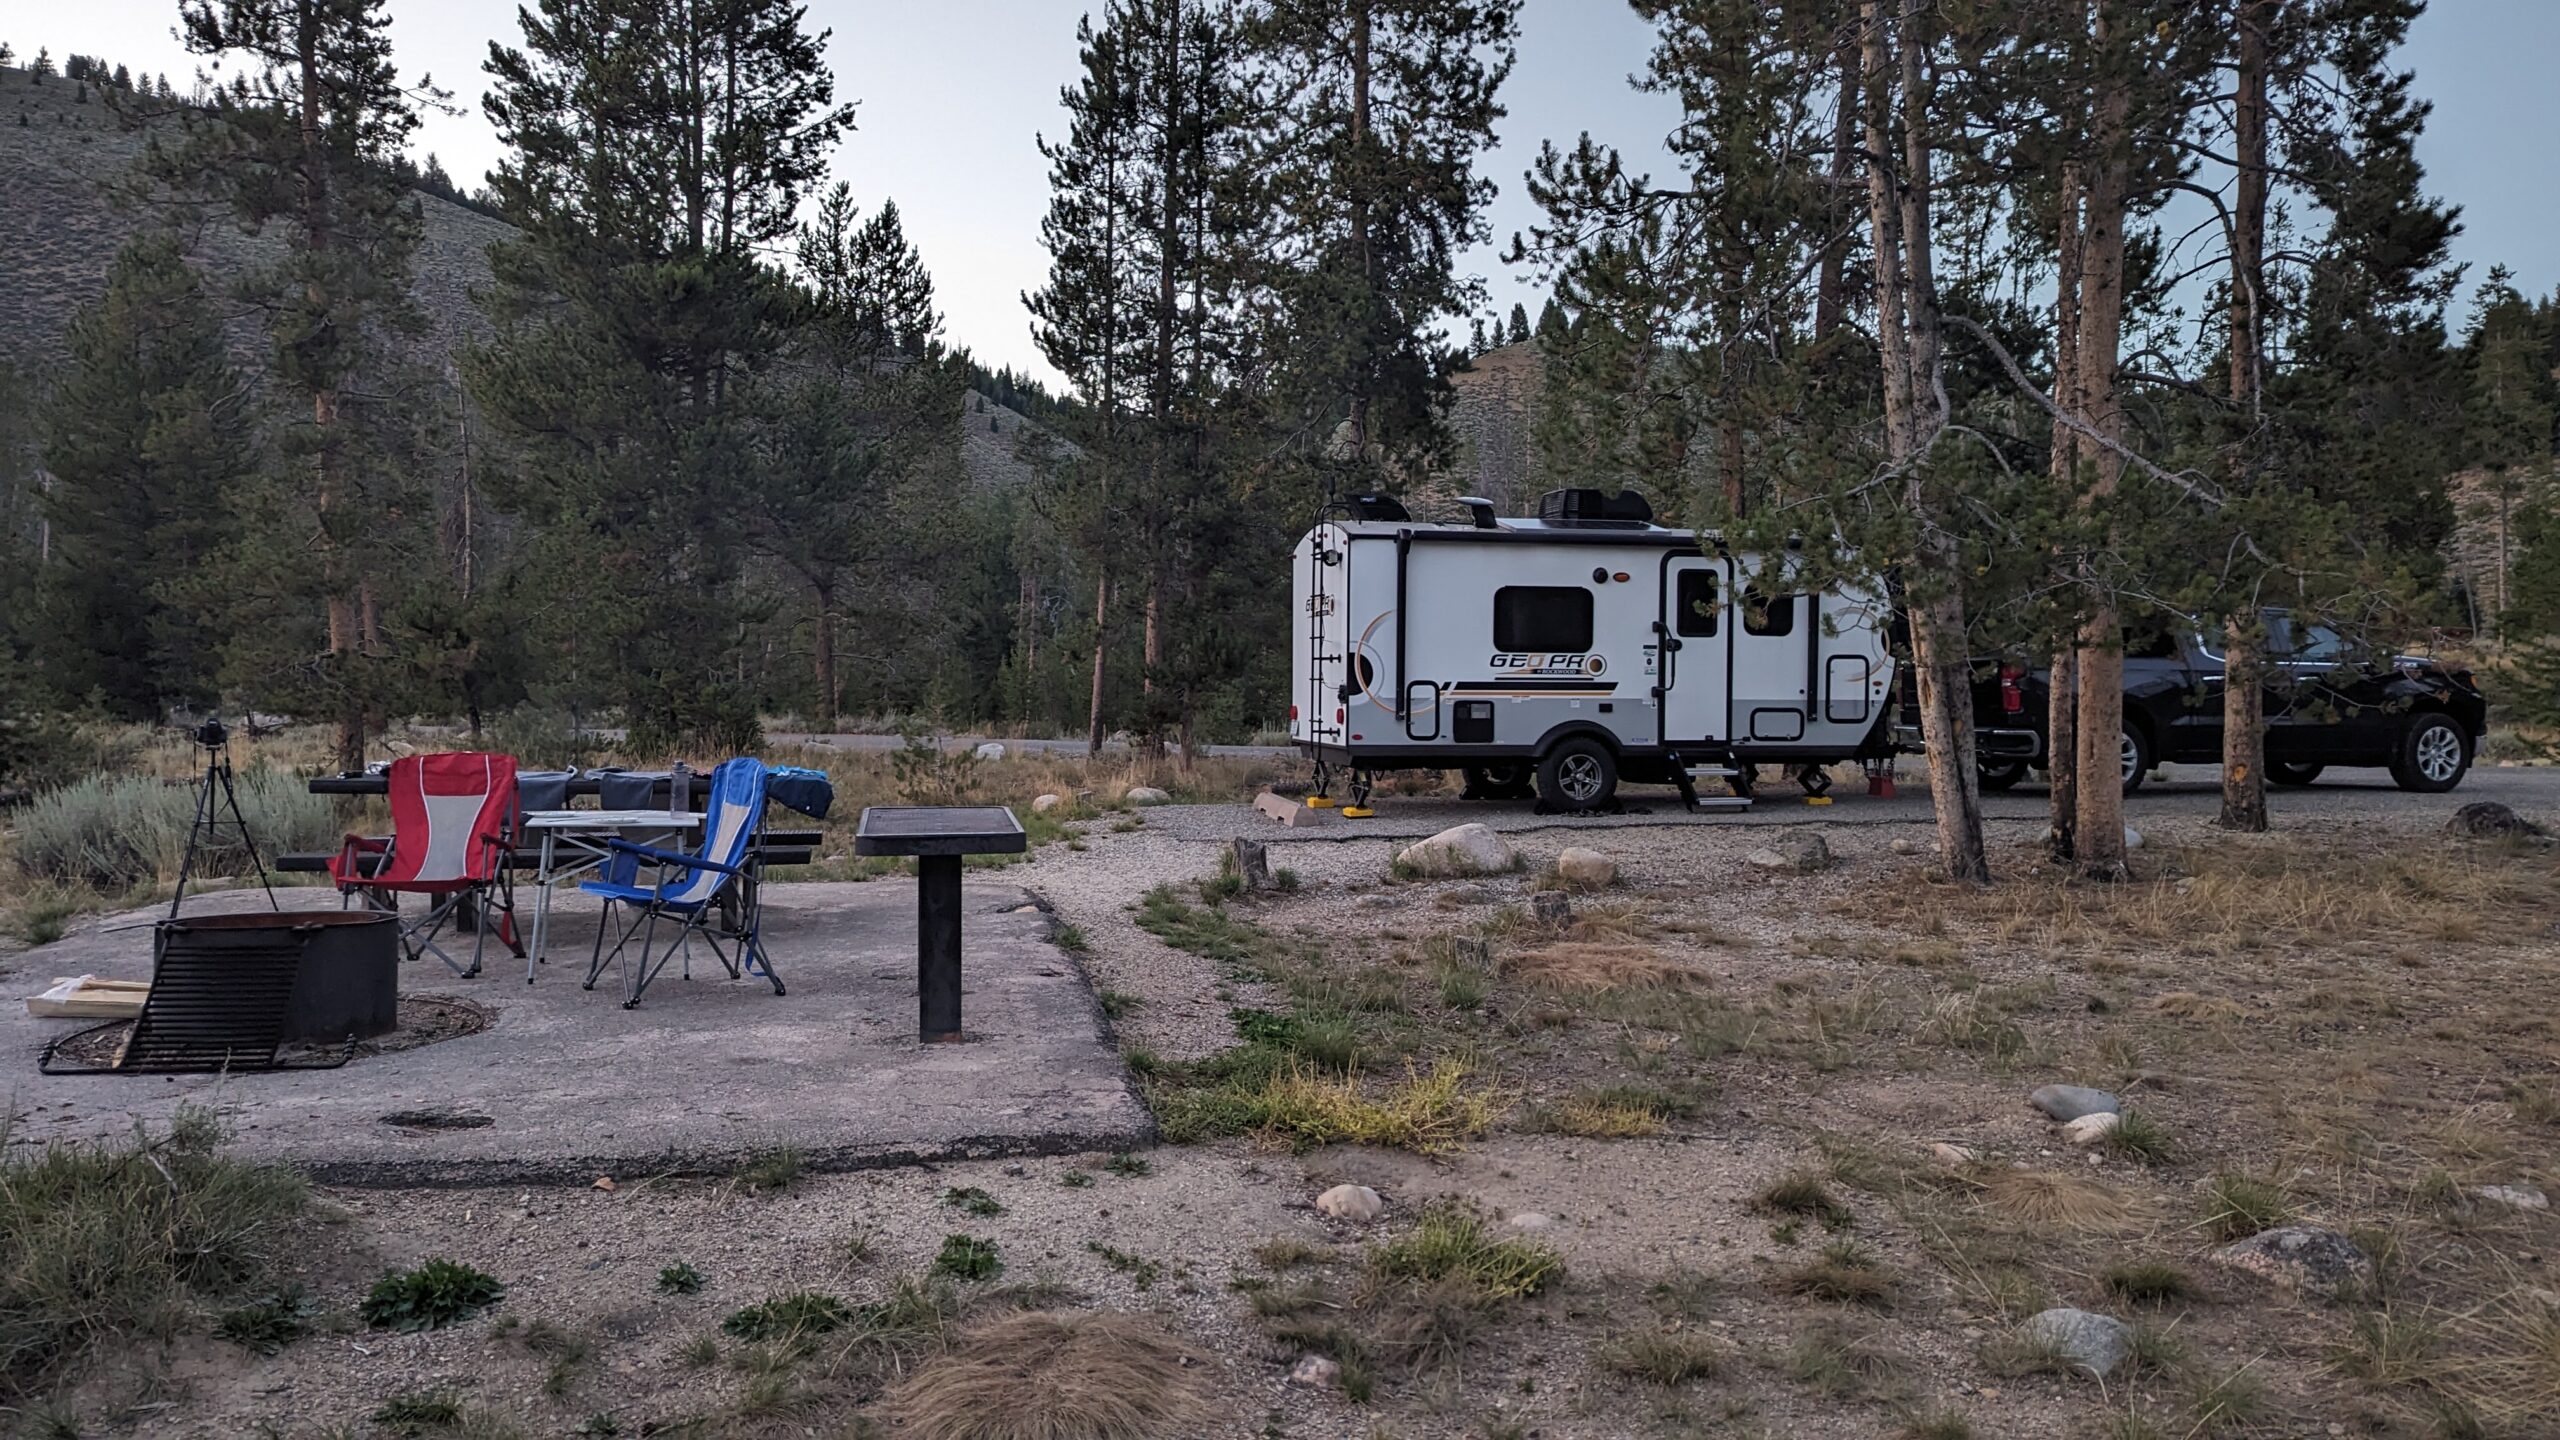
We’ve gotten more into dry camping with our travel trailer over the last few years. If you’re not familiar with the term “dry camping”, it is camping without hookups (electricity, water, or sewer). We make sure we have enough water in our freshwater tank and check that we have plenty of room in our gray and black tanks. We’re able to run the fridge, water pump, water heater, lights, and stove/oven on battery power and/or propane. This means that we can be in the middle of nowhere and have warm running water, a cool fridge, and a functioning stove/oven. It’s pretty cool!
As an Amazon Associate I earn from qualifying purchases.
In this post, I use affiliate links to recommend various products that have helped make our travel/camping experiences even better. If you click and purchase, I may receive a small commission on purchases at no extra cost to you.

Background
If our destination is a national park or state park with a campground, our goal is to camp inside the park, which often means dry camping. We don’t have to worry about traveling back and forth in and out of the park each day. We’re often located within walking distance from a point of interest (a trailhead, a lake, a visitor’s center). Camping inside the park also may eliminate the need for a timed entry permit at some national parks. Typically, the campground is a lot more natural (tucked in the trees or surrounded by red rocks, etc.), which we prefer to an RV park. Also, it is often substantially cheaper to dry camp. You can often find places where you can dry camp for free.

One of the reasons we bought our GeoPro (travel trailer) was because it came standard with a solar panel on the roof. We had been pushing our original battery/solar set up to the limits in terms of having enough power while dry camping. One night was fine, but when we tried to stretch it to 3-4 nights, we ran into some issues. After much deliberation, we decided to upgrade from the lead-acid batteries provided by the dealer to lithium iron phosphate (LiFePO4) batteries and add an additional 190W solar panel to the roof.

We have been so happy with this upgrade! We now have nearly 400W of solar on the roof and 200 AH of battery power. We dry camped for 3 consecutive nights and our battery never dipped below 70%.
Summary
If you just want the highlights, this section is for you!
- Camper: 2022 GeoPro 19FD travel trailer (20ft long)
- Our objective
- Have enough power to last 3-4 days with minimal sun (Note that the AC and microwave are not set up to run on battery. We’re not looking to change this right now.)
- Added an additional solar panel to the roof.
- Go Power 190W Solar Panel (Amazon link)
- Upgraded to a MPPT solar controller.
- Victron MPPT Solar Charge Controller (Amazon link)
- Upgraded to LiFePO4 batteries.
- Enduro Power 12V Lithium Battery – 200AH (Amazon link)
- Added a smart shunt to monitor the state of the battery
- Victron SmartShunt Battery Monitor (Amazon link)

Solar Power
Solar Panels
When researching solar panel upgrades/expansions, we found that it was recommended to stay with the brand of your original solar panel. Our camper came with a Go Power solar panel, so we purchased a 190W Go Power expansion panel. You can check out this panel/expansion at the link below!
Go Power 190W Solar Panel (Amazon link)

We installed the solar panel ourselves. If I’m being honest, this made me really nervous! Again, we did a lot of research and made sure we were properly prepared for the install. Because our camper is only 20 feet long and had a bathroom skylight, bathroom fan in the roof, and rooftop AC, we were a bit limited on space. We mapped this out carefully before beginning any work on the roof. It was nerve-racking, but it all went well!

We used seal tape on the underside of the solar panel bracket legs. To seal around the holes in the roof, we used self-leveling sealant. It’s been almost a year since we’ve made these upgrades, and we haven’t had any issues! You may also need a solar panel extension cable, depending on the location of your solar panel and the port.
Self-Leveling Sealant (Amazon link)

Solar Controller
Based on our research, an MPPT controller is more efficient than the PWM controller that came with our camper. We were really committing to this upgrade, so we decided to also upgrade our solar controller. Specifically, we were reading that the MPPT controller did better with LiFePO4 batteries. We had also heard a lot of good things about Victron brand products, so we felt good about this purchase.
Victron MPPT Solar Charge Controller (Amazon link)

Unlike our previous controller, this one didn’t come with a screen where you can see your solar intake. However, it does have a Bluetooth connection, so you can read this information on the Victron app on your phone. I really like this because you can check it from outside the camper or the passenger can check the status from the tow vehicle while on the road.

Batteries
After much, much research, we settled on a 200AH Enduro Power battery. One of the biggest factors in our decision was the size of the battery. We really wanted to have 200AH, but we also didn’t want to have to move the batteries inside the camper. We were hoping to continue to use the battery box on the tongue of the trailer. (We did add a lock to this box after the battery upgrade.) We were having trouble finding two LiFePO4 12V batteries that we could connect in parallel inside that battery box. We also looked into a bigger battery box, but there really wasn’t space available on the tongue.
Enduro Power 12V Lithium Battery – 200AH (Amazon link)

This battery does not have a built-in heater like some LiFePO4 batteries. It will stop charging at 32 degrees Fahrenheit and will begin charging again at 41 degrees. This is to protect the battery. LiFePO4 batteries can be damaged by charging in low temperatures. Some come with built-in heaters that will allow the battery to continue to charge, but we decide this wasn’t a deal-breaker for us because we aren’t often camping in below-freezing temperatures.
Because these batteries are not “smart” batteries, we needed to purchase a smart shunt battery monitor to be able to read the battery charge status. Again, we went with Victron for this purchase. Similar to the solar controller, the battery status can be read via Bluetooth on the Victron app.
Victron Smart Shunt Battery Monitor (Amazon link)

Additional Gear
Our camper already had a 1000W inverter. The AC and the microwave aren’t wired to run on the battery, so we felt comfortable keeping the 1000W inverter rather than upgrading to something larger. Most of the time, we don’t even need to turn on the inverter. We have a 12V fridge and TV. The lights and water pump can also run directly from battery power.

We also checked our charger for compatibility with LiFePO4 batteries. Based on our research, GeoPros from different years had different chargers and some were not compatible with LiFePO4. Fortunately, ours was!

You can buy external battery heaters if you purchase a battery that needs them to safely charge in the cold. We haven’t felt the need to do this yet, but it’s a possible upgrade for the future.
Prior to this upgrade, we bought a generator. In our minds, this was “insurance” in case our batteries ran out. It has definitely been worth having it along on trips! Before the upgrade, we did drain our batteries on multiple occasions and needed the generator to power some basics on the camper. Since the upgrade, we haven’t needed to use it. We are able to run the AC when we’re hooked up to the generator, so this would be an option to cool the camper down if we’re dry camping. This particular generator can run on propane or gasoline.
Dual Fuel Generator (Amazon link)